22 December 2010

Game PRoduction [month 17]

Time for the "art test", where we either deliver the goods or we go back a step, so I did what I could and let the rest happen as it always does.

Project 1: Create 3 low poly items for a game that you might find on a nintendo DS or something else really small.
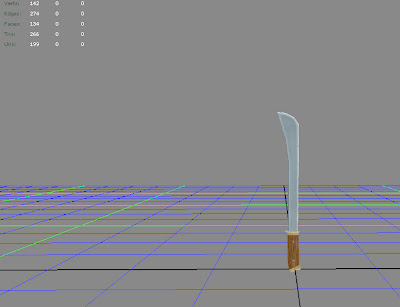
Item 1: create a melee weapon under 350 triangles. I chose to do a mix between a machete and a chinese dao sword.

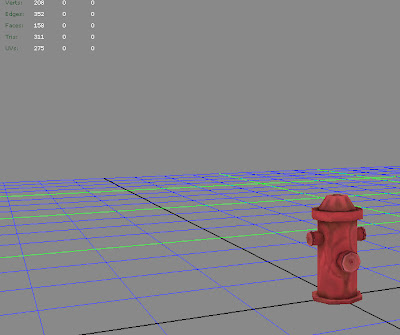
Item 2: create a scene prop under 500 triangles. This amount was later changed to 350 triangles, but by then I'd already done all the work ... so I just deleted some of the bolts and textured in some fake ones. It still came out okay, but not as good as when it had the bolts geometry.
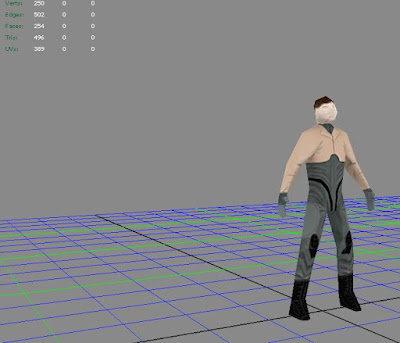
Item 3: create a humanoid under 500 triangles. I found a mech pilot turn around sheet on google, and decided to loosely base my color scheme/clothing design on that character. It wasn't until I was texturing that I realized just how hard it is to paint on a character with enough proper geometry.
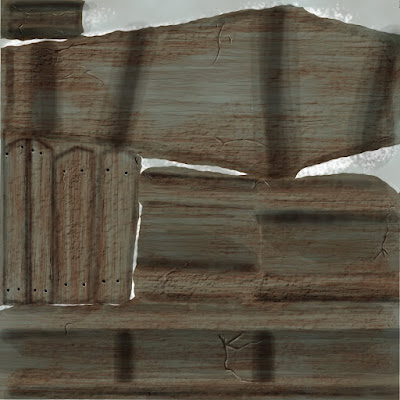
Project 2: after getting approval for a scene, model it out for use in UDK. I went ahead and planned early for vert painting on the walls so that they could be easily reusable without the problem of looking like they're being reused. Our classes never really covered exactly how to vert paint, though they all recommended we use it, so after digging around I found a nice tutorial on how to do hard line vert painting at:

http://www.chrisalbeluhn.com/3D_Tutorials.html

I used his techniques on both of my walls, meanwhile I used a standard soft line vert painting technique on the floor between the sand and the wooden planks.
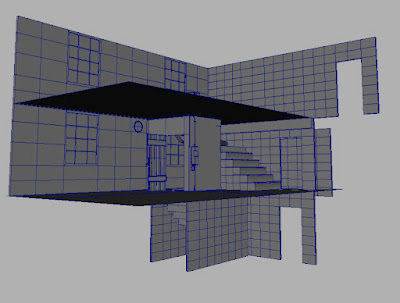
After everything was modeled out, I slapped some textures on and threw up some quick lighting.
Then I got a critique and was able to identify some problem areas and move on to correct them.
I began playing with glass ...
... and some different angles ...
... but overall it all looked like it was coming together.
Then I fixed the over-saturated light bounce problem, a little bit of scene desaturation ... and a sky dome with some fog blending out to it.
Played with desaturation levels and fog lighting density.Then I came upon this nice balance of colors that shows color details and still allows for the textures to blend together nicely.

My final piece looks like these last three shots.
Things I left out was a problem I had with the sky dome and light passing through it to cast proper shadows inside of the room. My project turn in for this piece didn't look as good as this as a result of that. It took an additional two days for me to discover how to fix the problem through an extensive case of trouble shooting and doing render pass after render pass.
21 November 2010

Texture Painting and Sculpting [month 16]

This is the second post for TPS because I failed it last time, I just spent too much time on level design and not enough on this class. At first I was upset, but once things got going I realized I understood all of the concepts we were required to know and could begin to work on more advanced concepts and try to master my own craft of building environments. I didn't master it, but I did a lot better this time around than I could have the first time.

Once again, we didn't get a lot of time to work on our projects in class but we did get a lot more time to work on it than last time. :)

Lab 1: draw out prepro for the object you want to model as a focal object.

lab 2: Texture a painted texture onto an object provided for you, only a diffuse may be used and no photos may be used.
Lab 3: texture a photo texture onto an object provided for you, only photos and filters may be used .. no hand painting and only a diffuse layer.
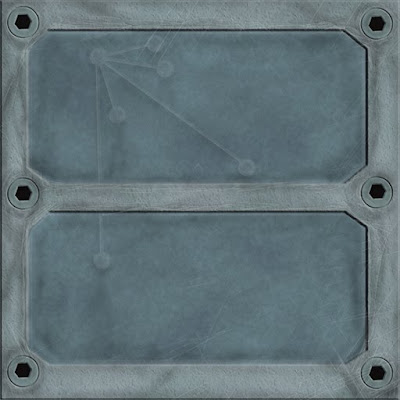
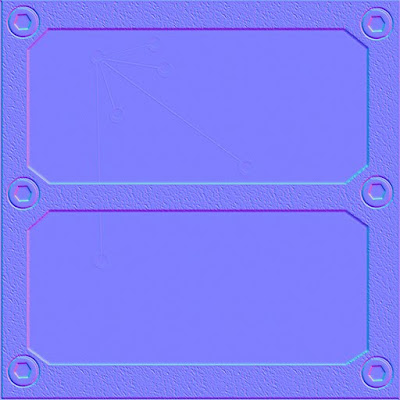
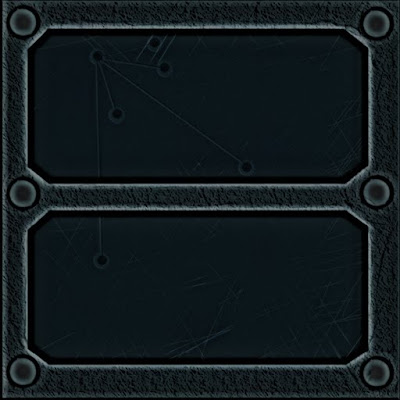
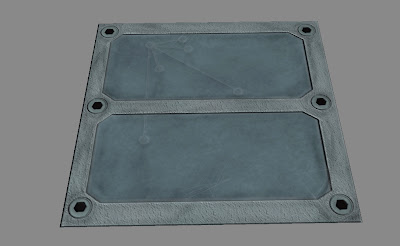
Lab 3: using a hand drawn height map, make a sci-fi metal panel of some type. Then Paint the diffuse and specular map for it. No photos may be used.
Once the sci-fi metal panel is completed, continue to work on your focal object for a critique in lecture.
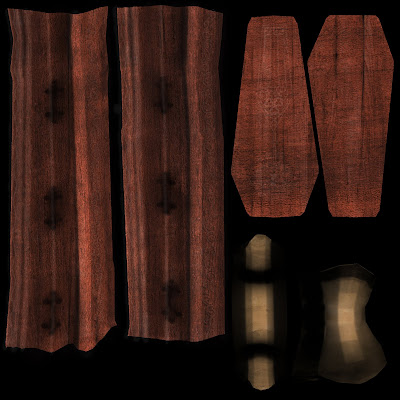
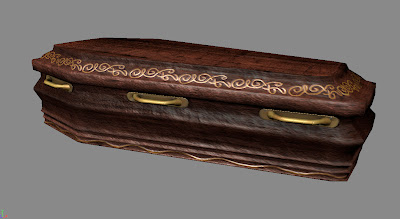
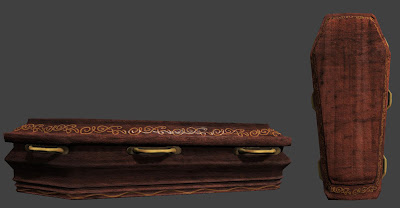
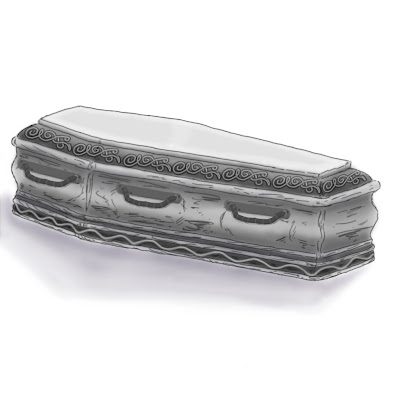
The critique I received in lecture was: get rid of the lid details, get rid of the vertical handle pieces while adding details to the horizontal pieces. Then add a panel that the handles can latch onto the coffin wood. Add more color separation between the wood panels of the lid and the side pieces, work on the specular map for the metal details, and flatten out the round area at the base of the lid .. it's too round.
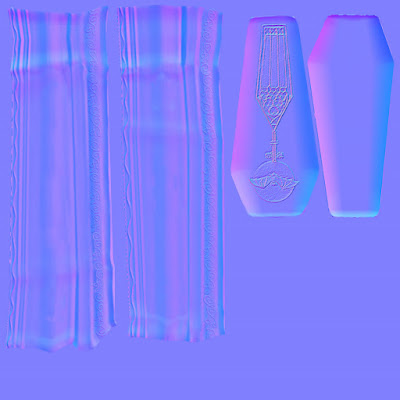
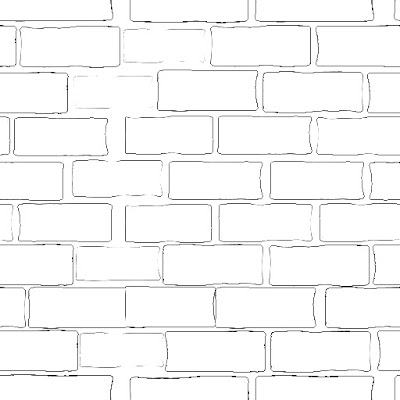
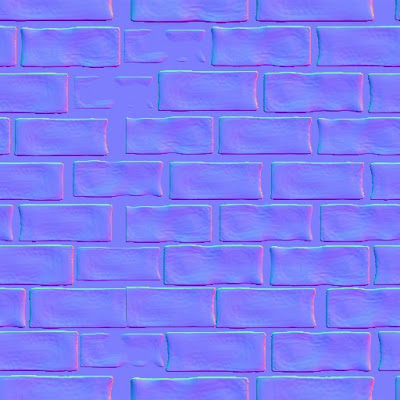
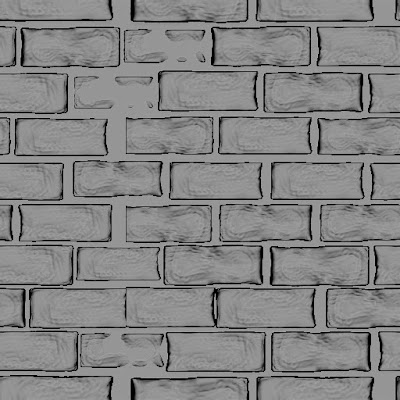
Lab 4: in zbrush, create a repeating texture using a single object. Then using just the materials, create an ambient occlusion, normal map, and a specular map.
Lab 5: we were able to continue to work on our focal objects.
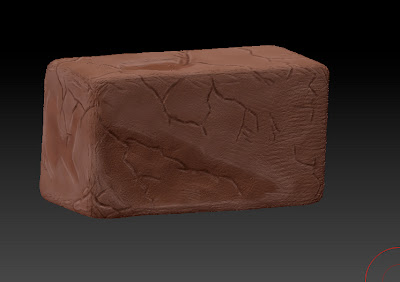
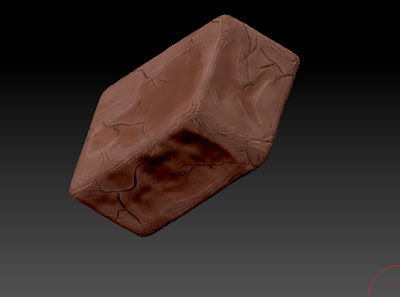
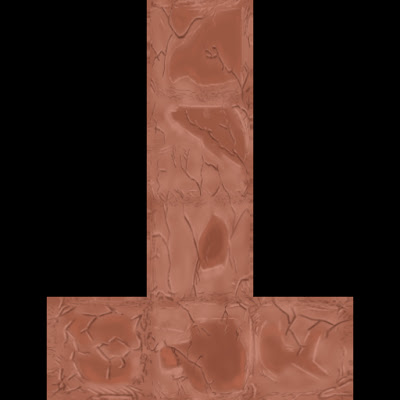
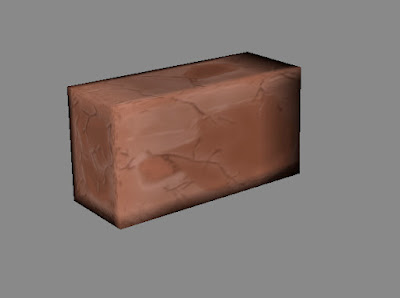
Lab 6: using a simple object in zbrush, poly paint a diffuse and then find a way to apply that paint to a low poly object in maya.

I painted a similar brick I had used in the tiling texture above.
Then I told zbrush to AutoUV a 512x512 uv texture
I flipped the texture
Then I saved and exported the .obj into maya and used transfer maps to apply the polypaint texture to my low poly mesh brick.
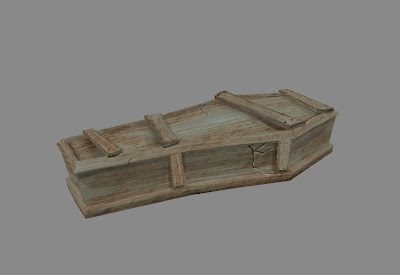
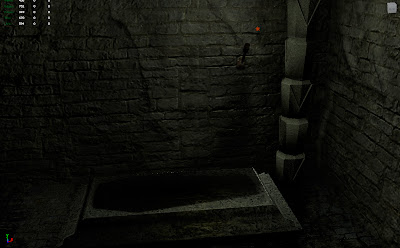
This is the overall progression of my coffin and the environment for my coffin, which I was unable to use for TPS as for the final turn-in we were only able to turn in a .upk with only 1 material. Turning in the scene would have disqualified my piece for a good grade. :S


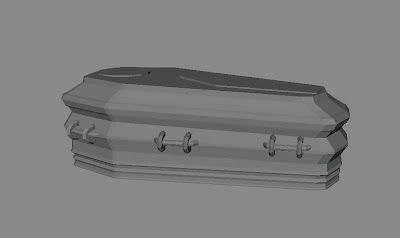
My initial low poly-mesh before taking it into zbrush
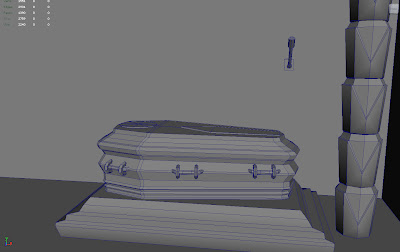
Before I started sculpting, I went ahead and made the rest of the small little scene.
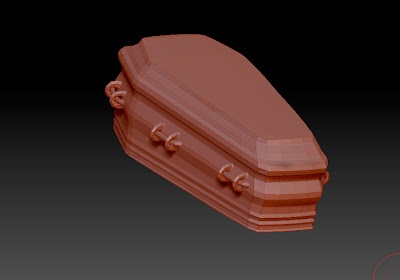
I mostly used zbrush for smoothing out the wood pieces and laying out the intricate metal details .. but I didn't keep the sculpt of the metal details on the wood pieces. They were too pixelated, I ended up using it as a base for a height map. The same as I did for the lid details.
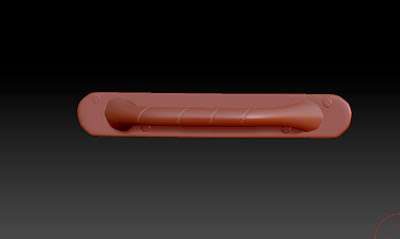
The handle details, however, I was able to work on to get some finer details like the metal engraving and the small screws to hold the panels to the wooden coffin.
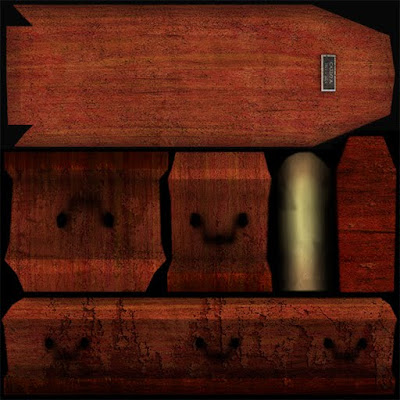
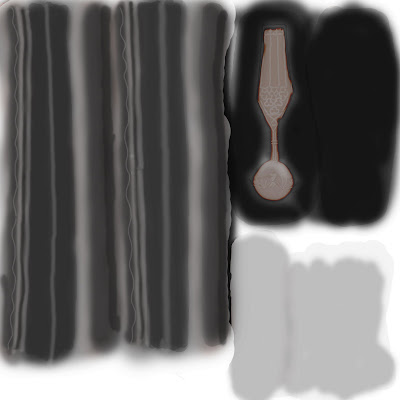
In maya I went ahead and set up the simple scene with some 1024 diffuse, normal, and spec's
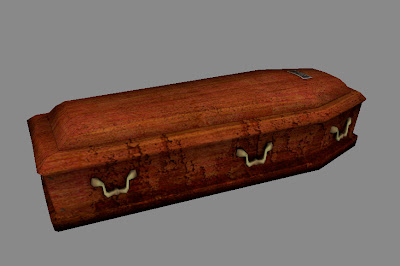
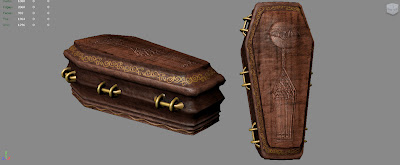
After the critiques were done I ended up with a coffin that looked like this in maya.
It took a while to get it to look similar to what maya told me it looked like, but with some advice from the lab instructors I was able to narrow down my mistakes.
My final turn in piece looked like this in UDK, there's still some errors that I need practice working with but I was happy that it all turned out as well as it did.
Finally, this is what my scene looks like in UDK, I wasn't able to submit this for a grade but I was happy to have the practice for my next class where I will have to create an environment.


This is the unlit environment
This is the same environment with lighting

22 October 2010

Advanced Game Characters [month 15]

That's right, this is the second post for AGC ... which means I failed it the last time I took it. Yay....

Project 1: a fan art piece ... I decided to go with Qbert.


Step 1: block out
Step 2: clean up the geometry
Step 3: add hair cards, then mirror the whole thing over and see if it works.
Step 4: bake the ambient occlusion, then paint the diffuse
This is what my diffuse looked like for this model, once again we did the texture at 256x512

Project 2: this month's theme was medieval fantasy.. designed around the ability to stay at an inn.

Once again we can use only zbrush, so I started with zspheres to create a skeleton type frameThen I moved on to blocking out the basic frame of the black smith.

Clean up the block out.
Turn it into a mesh for sculpting.Sculpt out a basic figure with large and medium details.

and apparently I added more details.Then you begin retopology ...

and it becomes messy ...
and messier ...
... but then I brought it into maya and the critiques I received were that he had a disproportionate body. So I resized his new lower topology and corrected any of the retopology mistakes I had made.
Once I re-sized everything, this is what I ended up with.I brought it back into zbrush and began to smooth and sculpt once again.

I re-sculpting the new body back out with details
Then I changed the face
With proper ambient occlusion, normal mapping, diffuse mapping and specular map, it turned into this.
A shot of the diffuse map.
My normal map.
Lastly, my specular map