The month of April came and left before I had a chance to blink, still there was so much we got done and so much we learned in this time that to look back on it I wonder how we keep moving forward. We had our spring break week on the second week of our class, so it was because of this I didn't keep an accurate log of hours and time spent modeling/scripting. So instead of the normal long blog, please enjoy the photo-journal style. :)
The first project in Production Modeling [PRM] was a hard surface model, this was hard to choose because everything I came up with to model, I was promptly told that it was too easy. After going back and forth for two days, I was told that my idea of a pair of shades would be okay ... but I could tell they wanted me to do something harder.
This is where I started modeling, on the lenses. I figured they held the most definition/feeling to the glasses. If I could get this right, I could get the rest of it right.

I was quickly able to move onto the rest of the frame during the week, however I stupidly had forgotten to apply any real measurements to the geometry .. pretty much flying blind.

The two hardest things for me to get was the smoothness, and the corner where the arm meets the lens frame.

Now that I'm done with everything, do you think it would be a good time to measure it? :/

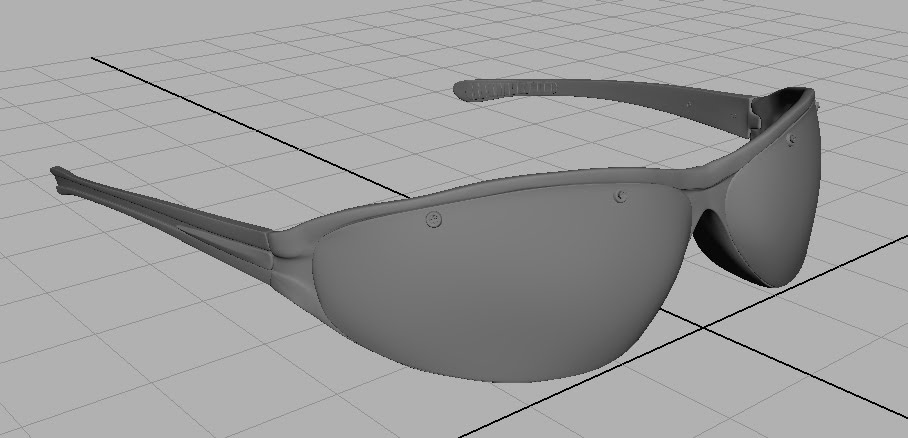
This is after I had to re-size everything, and then put everything back together. Now to move on to the mirroring just before it's due for turn-in.

Shortly before turn-in, I mirrored everything over ... which turned out harder than expected considering we were told to use polygons, sub-d's, and nurbs all on this one piece.

We were introduced to zbrush on the 3rd week of class, having never used it before it was a little hard to really jump in and get any work done. So I'd say for the first week of our bust sculpting of ourselves, most of us were just moving the pixels around trying to figure out what we were doing.
This is the base mesh we received in .obj format for our bust sculpting use, you can see where they had already set up the basic mesh for a face to help us out.

We started with a basic skeleton of a head ....

From a skeleton to a little more fleshed out skeleton ....

Filling in recognizable features of ourselves ....

Start refining those features ....

Get as many critiques as possible, and then refine the shape some more ....

Aren't you done yet? It's due soon!

Keep working on it, it's due soon!

I know it looks just like the last one, but it's not ... it is however 1,500,000 poly's. Time to retopologize!

I decided to use 3d-coat to retopologize, the whole using joints as a way to retopologize was a little bit too much of a stretch for my fragile little mind to comprehend as being a good idea ... isn't that what polygons are for?

So here's the new retopologized mesh, I didn't have enough time to completely capture all the detail I put into the original zbrush mesh but I did capture a pretty decent mesh with 2910 poly's.

Final screen shot of the new mesh with the poly count shown.