Once again, we didn't get a lot of time to work on our projects in class but we did get a lot more time to work on it than last time. :)
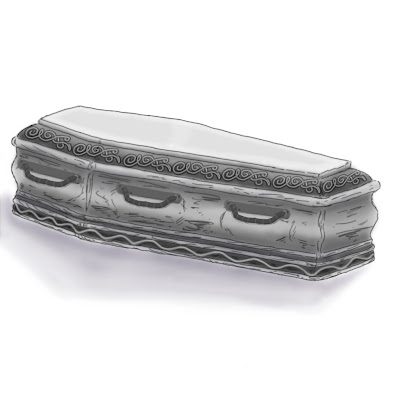
Lab 1: draw out prepro for the object you want to model as a focal object.
lab 2: Texture a painted texture onto an object provided for you, only a diffuse may be used and no photos may be used.
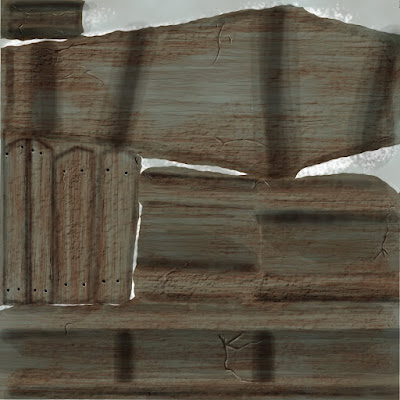
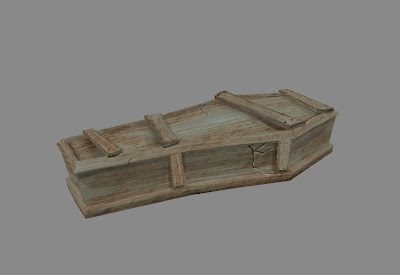
Lab 3: texture a photo texture onto an object provided for you, only photos and filters may be used .. no hand painting and only a diffuse layer.
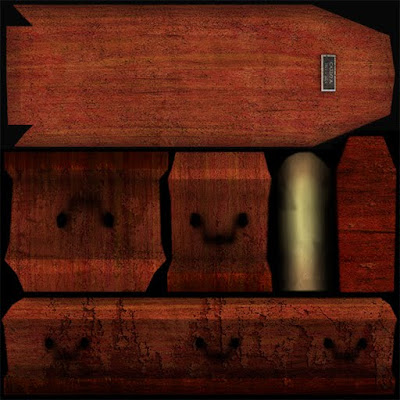
Lab 3: using a hand drawn height map, make a sci-fi metal panel of some type. Then Paint the diffuse and specular map for it. No photos may be used.
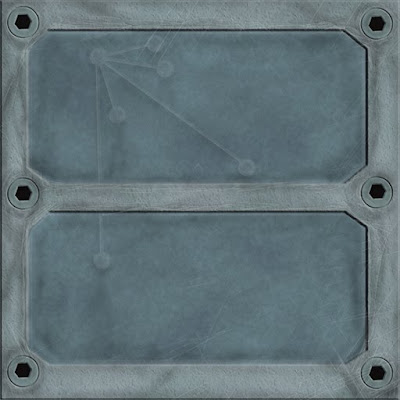
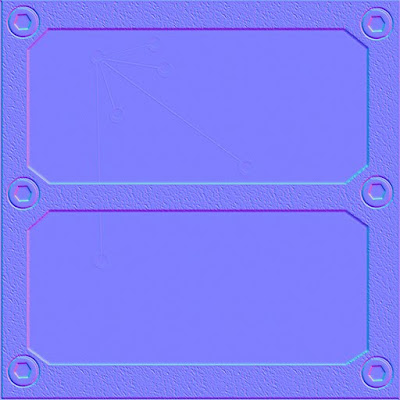
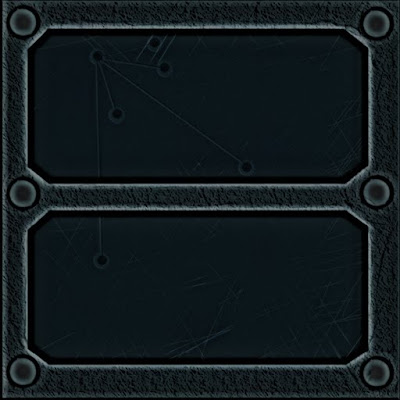
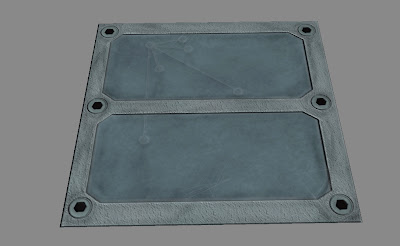
Once the sci-fi metal panel is completed, continue to work on your focal object for a critique in lecture.
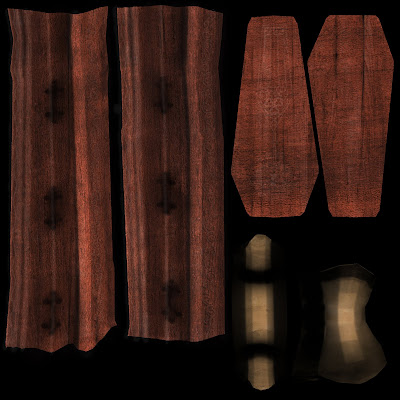
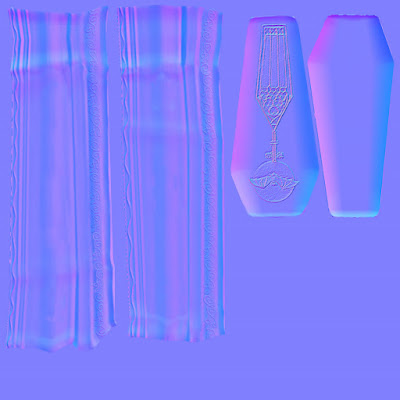
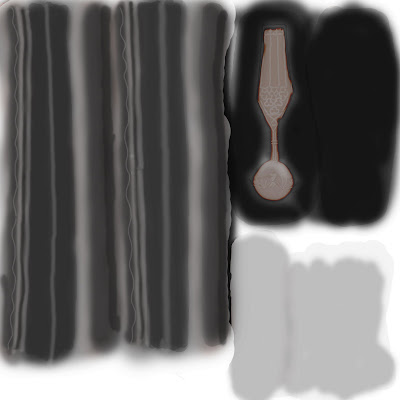
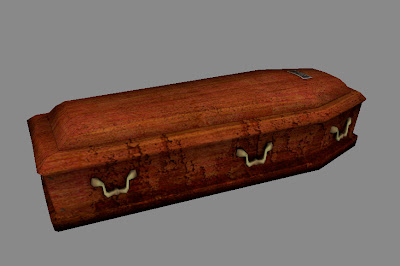
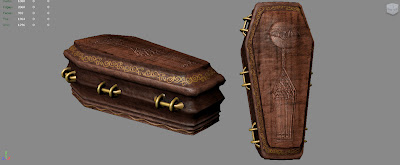
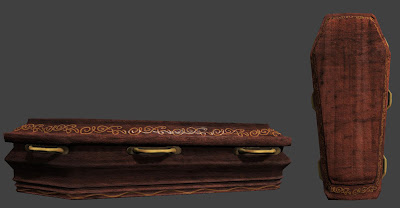
The critique I received in lecture was: get rid of the lid details, get rid of the vertical handle pieces while adding details to the horizontal pieces. Then add a panel that the handles can latch onto the coffin wood. Add more color separation between the wood panels of the lid and the side pieces, work on the specular map for the metal details, and flatten out the round area at the base of the lid .. it's too round.
Lab 4: in zbrush, create a repeating texture using a single object. Then using just the materials, create an ambient occlusion, normal map, and a specular map.
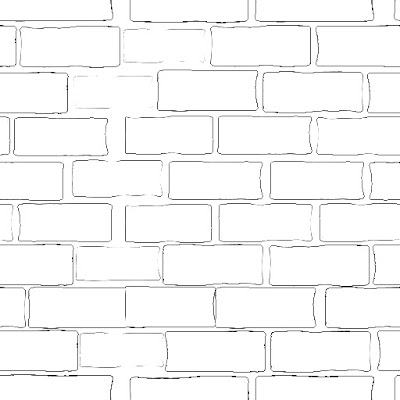
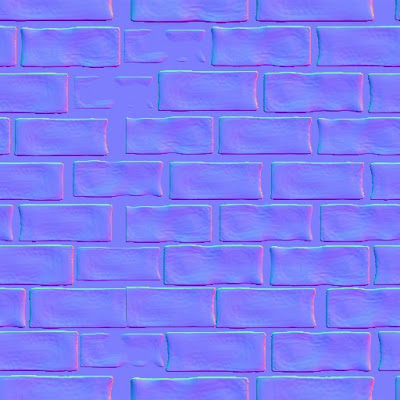
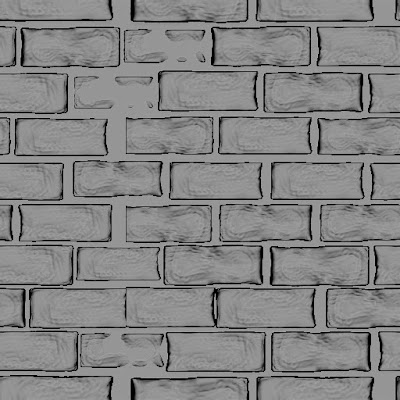
Lab 5: we were able to continue to work on our focal objects.
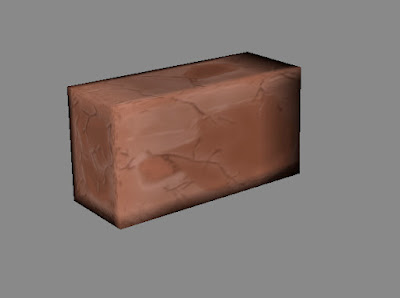
Lab 6: using a simple object in zbrush, poly paint a diffuse and then find a way to apply that paint to a low poly object in maya.
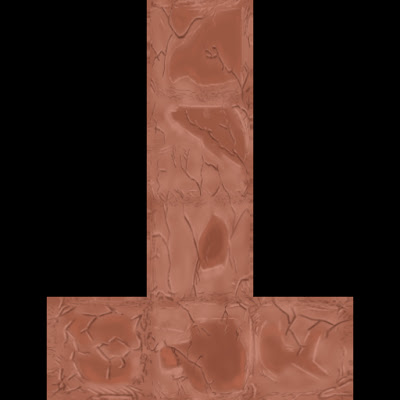
I painted a similar brick I had used in the tiling texture above.
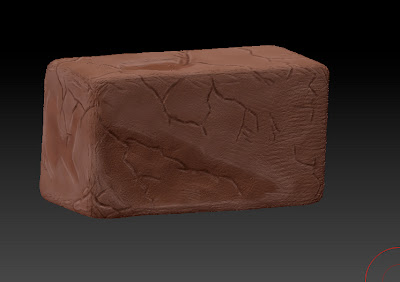
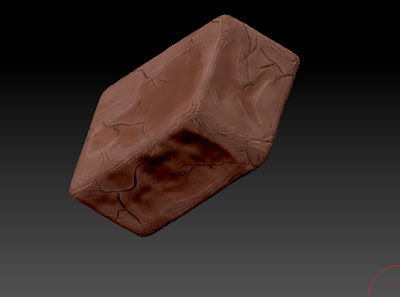
Then I told zbrush to AutoUV a 512x512 uv texture
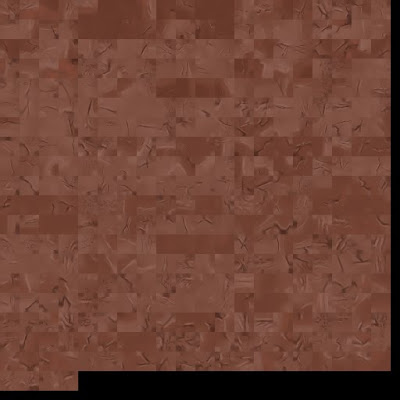
I flipped the texture
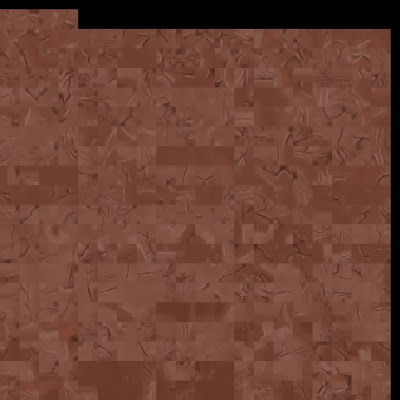
Then I saved and exported the .obj into maya and used transfer maps to apply the polypaint texture to my low poly mesh brick.
This is the overall progression of my coffin and the environment for my coffin, which I was unable to use for TPS as for the final turn-in we were only able to turn in a .upk with only 1 material. Turning in the scene would have disqualified my piece for a good grade. :S
My initial low poly-mesh before taking it into zbrush
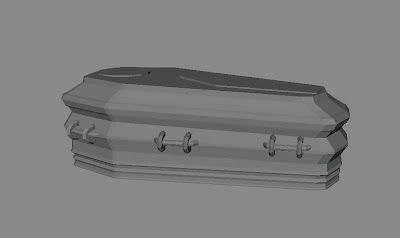
Before I started sculpting, I went ahead and made the rest of the small little scene.
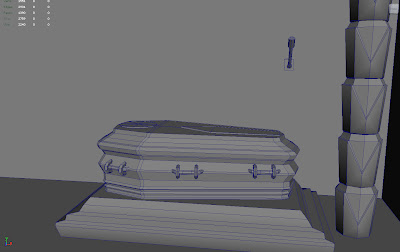
I mostly used zbrush for smoothing out the wood pieces and laying out the intricate metal details .. but I didn't keep the sculpt of the metal details on the wood pieces. They were too pixelated, I ended up using it as a base for a height map. The same as I did for the lid details.
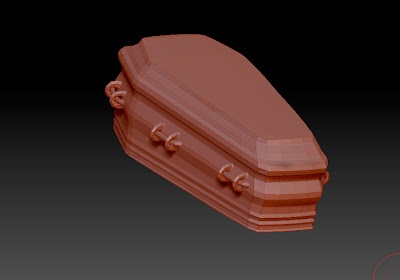
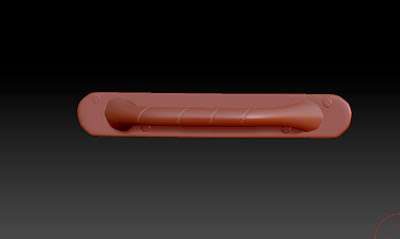
The handle details, however, I was able to work on to get some finer details like the metal engraving and the small screws to hold the panels to the wooden coffin.
In maya I went ahead and set up the simple scene with some 1024 diffuse, normal, and spec's
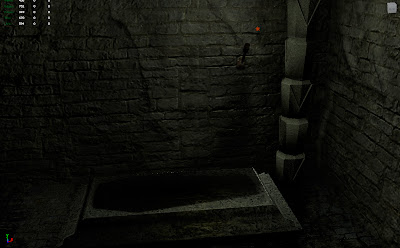
After the critiques were done I ended up with a coffin that looked like this in maya.
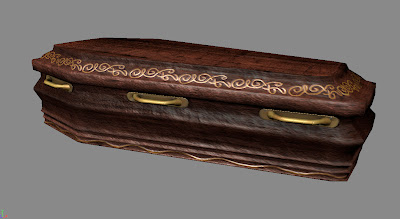
It took a while to get it to look similar to what maya told me it looked like, but with some advice from the lab instructors I was able to narrow down my mistakes.

My final turn in piece looked like this in UDK, there's still some errors that I need practice working with but I was happy that it all turned out as well as it did.
Finally, this is what my scene looks like in UDK, I wasn't able to submit this for a grade but I was happy to have the practice for my next class where I will have to create an environment.
This is the unlit environment

This is the same environment with lighting

No comments:
Post a Comment