Showing posts with label "full sail". Show all posts

30 January 2012

The Year of the Dragon

Working at AlliedBarton is okay, though it leaves a lot to be desired as far as pursuing my chosen career path. Pretty much everyone I interact with doesn't even know how to spell it, but I have a feeling it'll be like that until I can get work at a game studio.
So here's this month's projects! I received another art test from Gameloft, this time in Canada, I got some work done on my first Fender Bender style vehicle, and I did a 2D background image for a friend working on a side scrolling game.

I was surprised when Gameloft in Canada contacted me with the same art test as their sister studio in New Orleans. But I gave it a shot anyways, and learned a whole bunch more stuff about 3ds Max. I used the same assets I'd already created, only tweaking them to fit more along the lines of mobile gaming. Then I even added a few simple bits here and there to help the scene close up a bit better. I never did manage to find time to show convincing rain like I am able to do in UDK, and I'm guessing that's one of the bigger things they take points off for. But it's all good, I didn't really want to move to Canada anyways. :)
Here's the render shot and video I submitted:

This is what 3300 triangles will buy you.


I tried to keep it around the same poly count and texture limits as our game, and to just have fun with it. I've labeled this one as the low-tech light plane, hopefully I'll get together a high-tech light plane before the end of February.

I was able to keep it down to the poly count limit we had for Fender Bender.

 
Since the game is still in concept phasing a lot could change, but I was really happy with the way the sky/background turned out.

I liked the way the heavy atmosphere looks, but it's still just a concept.

Stay tuned, and I'll keep working.

22 April 2011

Game Production 2 - Beta turn in [month 21]

This month was shared with Game Cinematic Assets, so our planning ahead really paid off. All the extra art we made was finally implemented into the game with the code, all we had to do all month was clean-up and touch-up to fit with the code. Here's some of the updates and changes:


Fender Bender has new game modes in place and we needed a keep away item, since we already had nuts and bolts planned for the smash n' grab mode I thought that combining the two into a mega golden bolt-nut would allow the players to know it's important without having to put too much thought into what was going on. The bolts on this item are the same as the other bolt pickups below, but the nut itself was "up-res'ed" since this is a single focal point of the game.

With the shield code in place, I scaled the shield to match each vehicle individually. Later on we ended up opting out for less of a bubble shape and more of a round sphere shape. Since I didn't make the new shield I don't have that file to show off.


Smash n' Grab game play mode allows other players to gain points by collecting nuts and bolts from vehicles that they attack. These items fly off the vehicle as the vehicle is takes damage. As per the description, there's quite a few of these that fly through the level and needed to be kept fairly low poly.
The old ice cube didn't allow for the modulauncher to still attack nearby enemies, so I redesigned the ice cube a little bit.


Then I scaled the new ice cube over each character's vehicle to make sure it left enough visible for players to recognize the vehicle at a glance and still realize that they were completely surrounded by this pack of ice.The shield was done, but we'd forgotten completely about what the pickup should even look like! So I went to work at figuring out what it should be. In the end I decided a shield silhouette would work as long as the shield itself looked like tech. that might fit with the modulauncher.

Here's a short video of combined game play of our beta turn in:


23 March 2011

Game Production 1 - Alpha turn in [month 20]

For the first month we got to work on our Alpha phase without the disturbance of another class, so we tried to knock out as much work as possible. After tons of work and revisions we successfully turned in our game and presented it to the other two groups as well as the three groups a month ahead of us.
Since we knocked out a lot of Beta and Gold items in pre-production month, we were able to look at fleshing out the level to look as good as possible. The only thing we didn't get in that we needed to was visual effects. So no explosions, muzzle flashes or anything like that.
Here's what I worked on for the month, it doesn't seem like much but after I textured and modeled them I worked on item placement so I was able to stay busy all month.

We got a critique on my tires, I updated the texture to be more recognizable from far away.
Small rocks were added to help make the large rocks seem more like part of the level and not just a boundary item.

Road signs were created and placed throughout the level to help immerse the player into the world of the parking garage.
Road lines were made to help add an atmosphere of flow for the players to follow as well as immersiveness.
Pot holes, simply more background noise for the environment but it helped to make the environment look older.
The pickup cubes are all combined into one cube here, they go around the pickup item itself and help to illuminate the item as the pickup bobs up and down.
Parking lot lines were placed to help fill in the ground breakup, it doesn't always make sense but it made the repeating texture for the concrete seem as if it's non-repeating.
Oil stains fill up every parking lot in the world, so our has them too.The ice cube goes with the ice rocket, though it's not in the game yet it should be during this month for Beta release.
Grass sprouts appear all over the level and in different sizes to help with the varying height levels of ground breakup as well as to add more color variation to the level.

Cracks are flat and are barely noticeable in the game, but they're there. Mostly to help accent the pillars and ground rocks, these decals show up on the floor and the ceiling.Our team also has a website showing several game play videos hosted on youtube.

30 January 2011

Game Pre-Production [month 18]

This month was all about preparing the paperwork and making all the lists for our game. After a lengthy take off, we finally got separated into our final groups and decided upon two games: Adrift, or Fender Bender. Without going too much into what makes them both up, let's just say that Fender Bender won the game idea pitch. Here's a little bit about our game. Note: as this is a group project, this work is the property of our entire group and not just myself.
Logo:
Environment Theme:
Environment Atmosphere:
Environment Art Style:
Environment Layout:
Character and Vehicle Designs:
Pickup/Weapon Designs:
The feel of the game is supposed to be Twisted Metal meets Mario Kart, fun yet challenging. I ended up with a great team of coders and other artists, hopefully we'll make a great game .. though it shouldn't be too hard with a game concept as simple as driving and shooting. :)

22 December 2010

Game PRoduction [month 17]

Time for the "art test", where we either deliver the goods or we go back a step, so I did what I could and let the rest happen as it always does.

Project 1: Create 3 low poly items for a game that you might find on a nintendo DS or something else really small.
Item 1: create a melee weapon under 350 triangles. I chose to do a mix between a machete and a chinese dao sword.


Item 2: create a scene prop under 500 triangles. This amount was later changed to 350 triangles, but by then I'd already done all the work ... so I just deleted some of the bolts and textured in some fake ones. It still came out okay, but not as good as when it had the bolts geometry.
Item 3: create a humanoid under 500 triangles. I found a mech pilot turn around sheet on google, and decided to loosely base my color scheme/clothing design on that character. It wasn't until I was texturing that I realized just how hard it is to paint on a character with enough proper geometry.
Project 2: after getting approval for a scene, model it out for use in UDK. I went ahead and planned early for vert painting on the walls so that they could be easily reusable without the problem of looking like they're being reused. Our classes never really covered exactly how to vert paint, though they all recommended we use it, so after digging around I found a nice tutorial on how to do hard line vert painting at:

http://www.chrisalbeluhn.com/3D_Tutorials.html

I used his techniques on both of my walls, meanwhile I used a standard soft line vert painting technique on the floor between the sand and the wooden planks.

After everything was modeled out, I slapped some textures on and threw up some quick lighting.
Then I got a critique and was able to identify some problem areas and move on to correct them.
I began playing with glass ...
... and some different angles ...
... but overall it all looked like it was coming together.
Then I fixed the over-saturated light bounce problem, a little bit of scene desaturation ... and a sky dome with some fog blending out to it.
Played with desaturation levels and fog lighting density.Then I came upon this nice balance of colors that shows color details and still allows for the textures to blend together nicely.

My final piece looks like these last three shots.
Things I left out was a problem I had with the sky dome and light passing through it to cast proper shadows inside of the room. My project turn in for this piece didn't look as good as this as a result of that. It took an additional two days for me to discover how to fix the problem through an extensive case of trouble shooting and doing render pass after render pass.

21 November 2010

Texture Painting and Sculpting [month 16]

This is the second post for TPS because I failed it last time, I just spent too much time on level design and not enough on this class. At first I was upset, but once things got going I realized I understood all of the concepts we were required to know and could begin to work on more advanced concepts and try to master my own craft of building environments. I didn't master it, but I did a lot better this time around than I could have the first time.

Once again, we didn't get a lot of time to work on our projects in class but we did get a lot more time to work on it than last time. :)

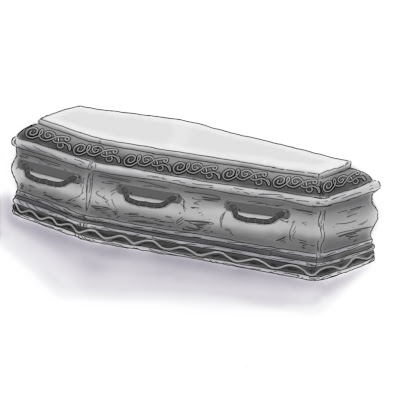
Lab 1: draw out prepro for the object you want to model as a focal object.
lab 2: Texture a painted texture onto an object provided for you, only a diffuse may be used and no photos may be used.
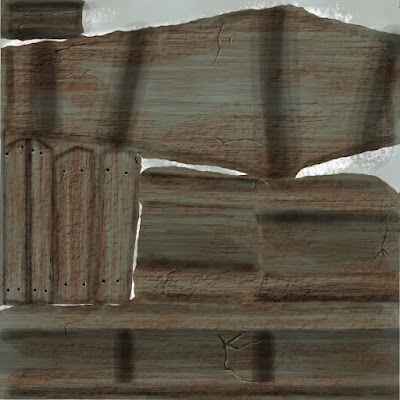
Lab 3: texture a photo texture onto an object provided for you, only photos and filters may be used .. no hand painting and only a diffuse layer.
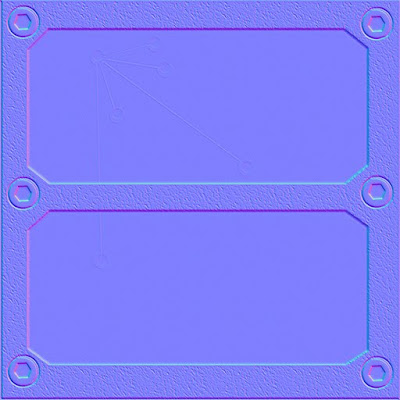
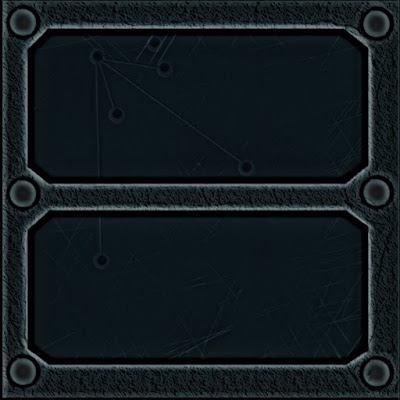
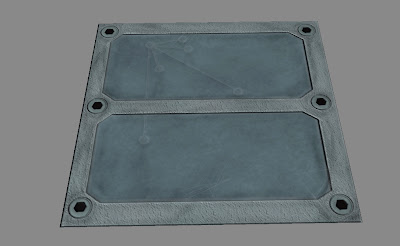
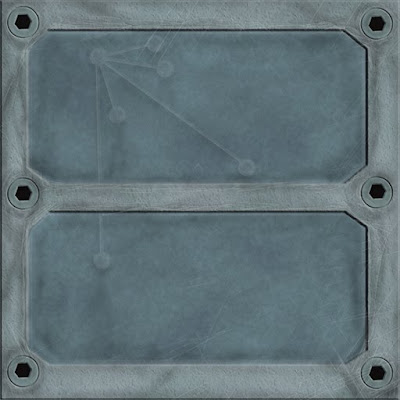
Lab 3: using a hand drawn height map, make a sci-fi metal panel of some type. Then Paint the diffuse and specular map for it. No photos may be used.
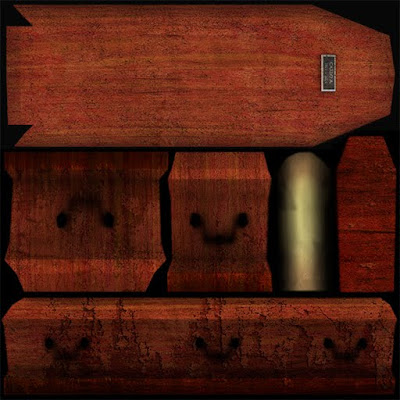
Once the sci-fi metal panel is completed, continue to work on your focal object for a critique in lecture.
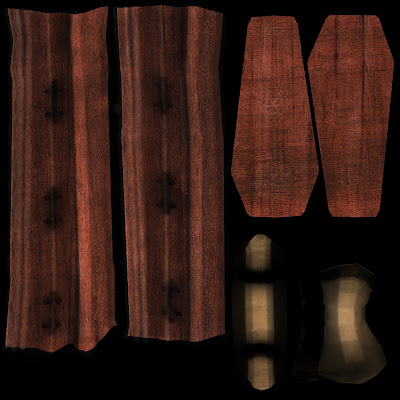
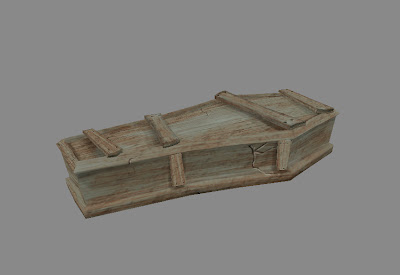
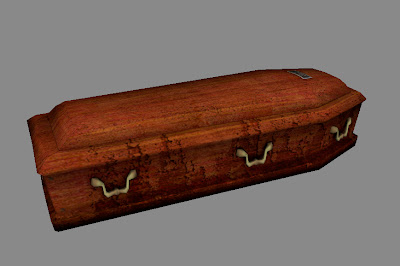
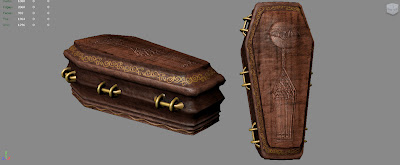
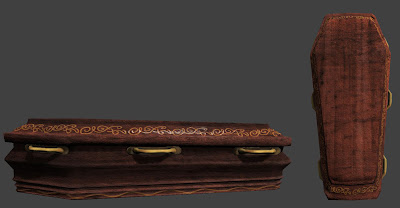
The critique I received in lecture was: get rid of the lid details, get rid of the vertical handle pieces while adding details to the horizontal pieces. Then add a panel that the handles can latch onto the coffin wood. Add more color separation between the wood panels of the lid and the side pieces, work on the specular map for the metal details, and flatten out the round area at the base of the lid .. it's too round.
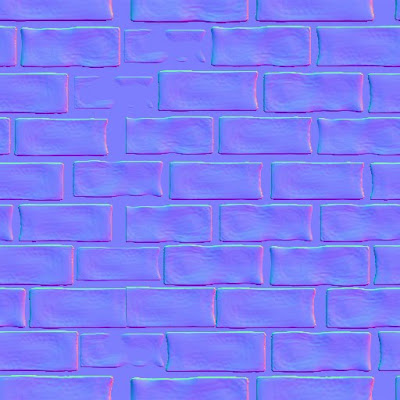
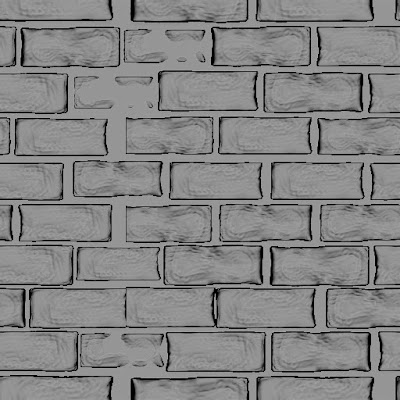
Lab 4: in zbrush, create a repeating texture using a single object. Then using just the materials, create an ambient occlusion, normal map, and a specular map.
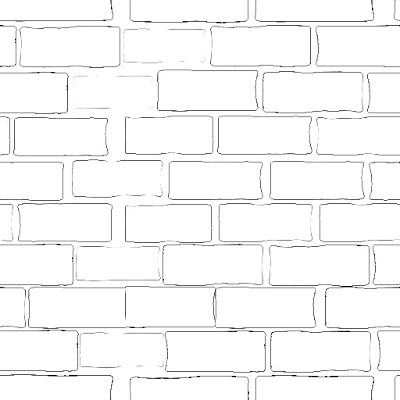
Lab 5: we were able to continue to work on our focal objects.
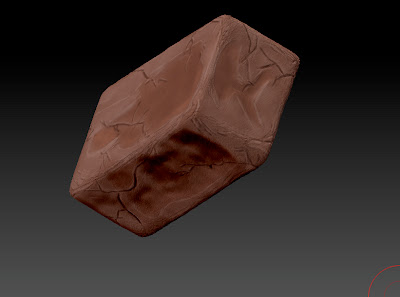
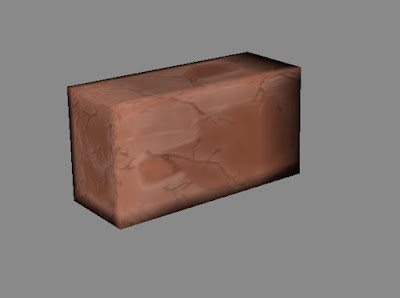
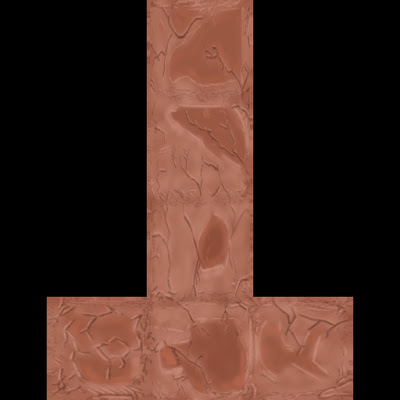
Lab 6: using a simple object in zbrush, poly paint a diffuse and then find a way to apply that paint to a low poly object in maya.

I painted a similar brick I had used in the tiling texture above.
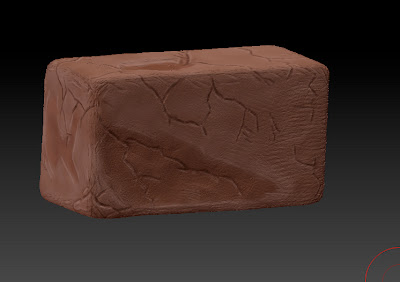
Then I told zbrush to AutoUV a 512x512 uv texture
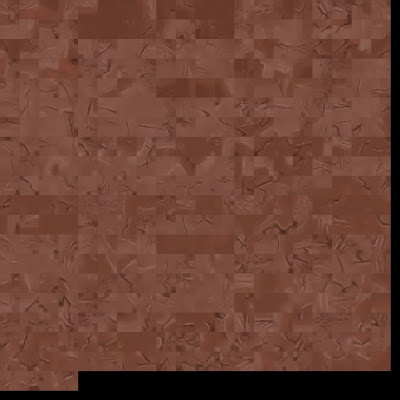
I flipped the texture
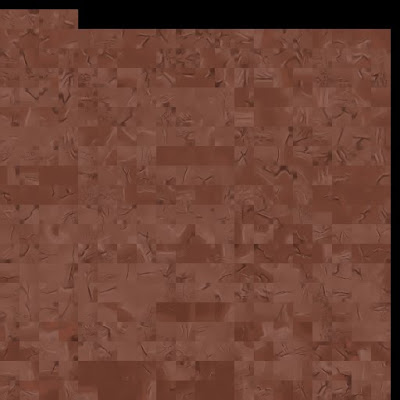
Then I saved and exported the .obj into maya and used transfer maps to apply the polypaint texture to my low poly mesh brick.
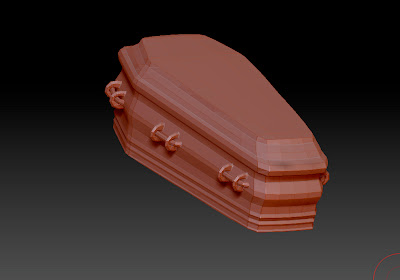
This is the overall progression of my coffin and the environment for my coffin, which I was unable to use for TPS as for the final turn-in we were only able to turn in a .upk with only 1 material. Turning in the scene would have disqualified my piece for a good grade. :S


My initial low poly-mesh before taking it into zbrush
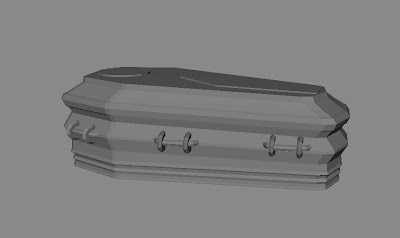
Before I started sculpting, I went ahead and made the rest of the small little scene.
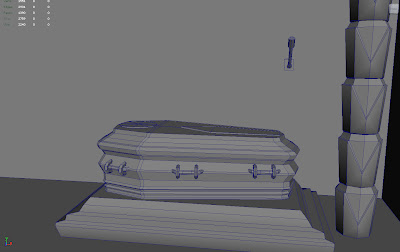
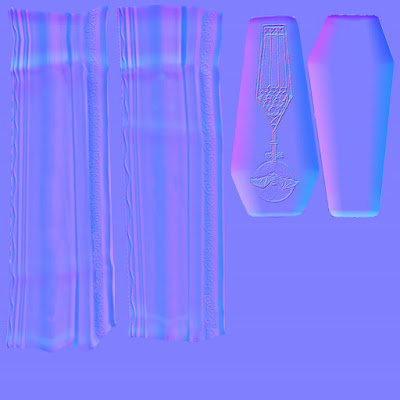
I mostly used zbrush for smoothing out the wood pieces and laying out the intricate metal details .. but I didn't keep the sculpt of the metal details on the wood pieces. They were too pixelated, I ended up using it as a base for a height map. The same as I did for the lid details.
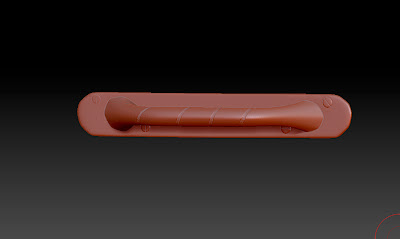
The handle details, however, I was able to work on to get some finer details like the metal engraving and the small screws to hold the panels to the wooden coffin.
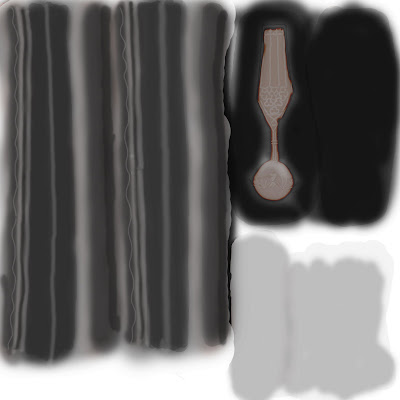
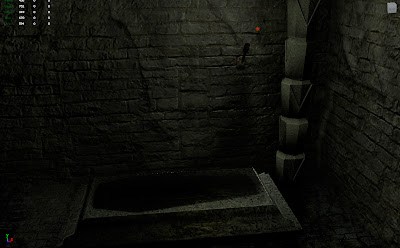
In maya I went ahead and set up the simple scene with some 1024 diffuse, normal, and spec's
After the critiques were done I ended up with a coffin that looked like this in maya.
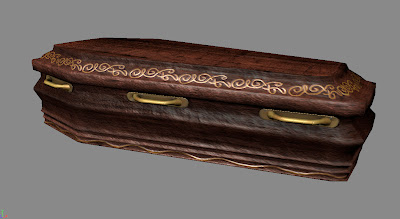
It took a while to get it to look similar to what maya told me it looked like, but with some advice from the lab instructors I was able to narrow down my mistakes.
My final turn in piece looked like this in UDK, there's still some errors that I need practice working with but I was happy that it all turned out as well as it did.
Finally, this is what my scene looks like in UDK, I wasn't able to submit this for a grade but I was happy to have the practice for my next class where I will have to create an environment.


This is the unlit environment
This is the same environment with lighting